New businesses and farms alike don’t bring in tons of cash the first few years. This means that a dollar saved is a big deal and one way our home saves some money is by making our own vanilla extract.
How did we choose the making vanilla extract project?
If you bake somewhat often, you can save some serious moo-lah by making your own extract with vanilla beans. At the time of writing, McCormick Vanilla extract near me is somewhere between $3.47 and $4.87 per ounce. The difficulty and cost of entry to this project is low. It takes a minimum of 3 months to develop the flavor. Labor is low. After assembly, shake the vanilla extract once a month. We started this when we still had enough store bought on hand to wrap up some bakes.
Since cookies, cakes, and quick breads are often in our rotation I know that trimming this cost makes sense for us. We aren’t investing in a solution to a problem that doesn’t exist.
Initial costs are low. We can use a lower grade bean, like “B”, because extract isn’t a showy item. We found beans that were $0.50 per pod. Add in your preferred 80 proof rum or vodka and a container and this project is complete!

What to Buy
If you want to skip decision fatigue, here’s what used for making the vanilla extract:
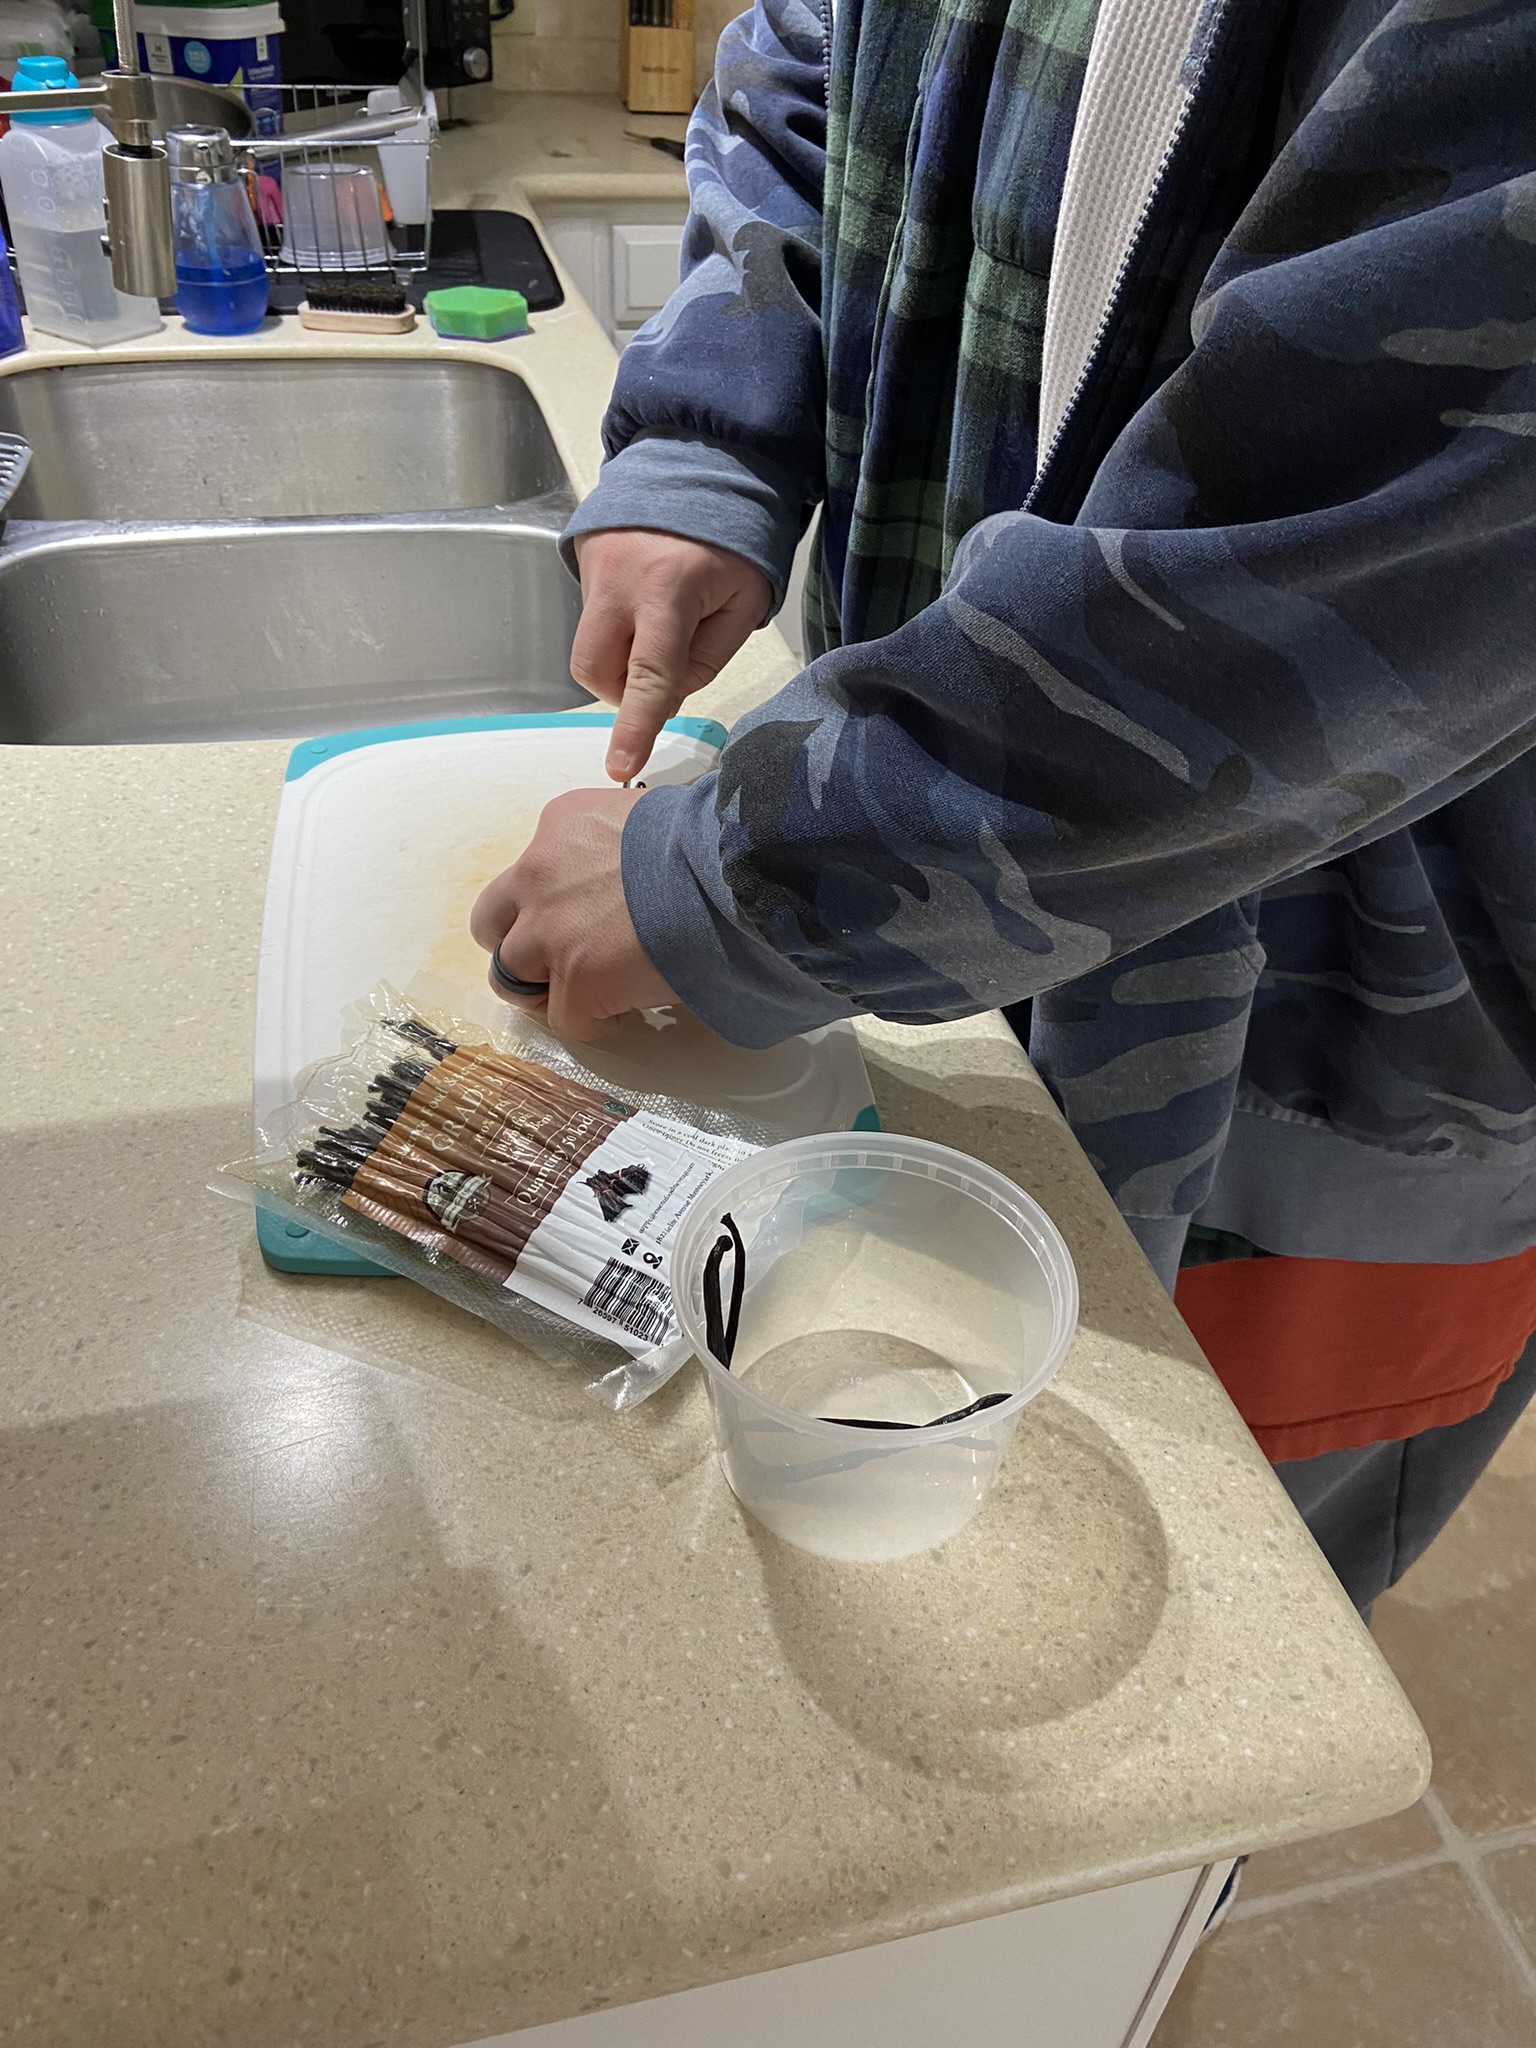
- Grade B vanilla beans (at least 8 beans)
- 1 cup of 80 proof rum or 80 proof vodka
- A glass jar OR a deli container
**If there is an Amazon affiliate link to mentioned products, this link pays a small commission to Suppe Victory Gardens, an Amazon Associate**
Steps to Making Vanilla Extract
Once you have the beans, the alcohol, and a container, assembly is a snap. BEFORE you open your beans, know how you will repack the ones that aren’t used. Vanilla has a STRONG smell, even in his commercial packaging. We needed to wrap ours in another bag and keep them away from breads, other spices, or anything that would be affected by strong aromatics.
First, add 8 beans to 1 cup of 80 proof alcohol to your container, seal the lid on tight, and store in a cupboard out of direct sunlight. Label your extract. We note the date created and the type of alcohol on the lid of ours.
Second, once a month shake the vanilla extract.
Finally, in three months the extract is ready for use!
Few home projects get less demanding than this one!

Other considerations and notes when making vanilla extract:
We are testing two methods of getting beans into the alcohol. The first is simply adding in whole beans. In another batch we sliced the beans down the middle exposing the little bean bits. This makes a “dirty” effect with the tiny beans swirling around. This is similar to the specks seen in French Vanilla flavored ice creams. Side by side taste and performance testing is pending at Suppe Victory Gardens.
Choosing the alcohol comes down to personal preference and what flavors go well with your bakes. I can’t always discern the difference between mid-level and high shelf alcohols. Our rule of thumb is: if you can’t stand the taste of it by itself, don’t cook with it!
Does Making Vanilla Extract Make Sense for a Homestead?
This project only saves you cash IF vanilla extract is something you use and buy regularly. If this project is for fun, then full steam ahead! At $4 for the beans, and about $11 for the cup of alcohol, our extract comes in at $1.88 per ounce. [We assume that everyone already has the container. It can be a jar or something glass and food safe. We use plastic deli containers which stack well, store easily when buying in bulk, and are easy to write on.]
Most of our recipes use only 1 tsp of vanilla extract. In this case the cost of McCormick per bake is $0.58 while the cost per homemade bake is $0.32. Assuming 2 baking projects a week, my family saves $27.04 a year.
Would we do this again?
Definitely! The cost of entry is low, the time spent is almost nothing, and it’s easy to reap the rewards of making something you use regularly for yourself. If our palates become more refined, then we will like experimenting with different alcohols and their flavors. This project goes on our repeat list.